Getting excited to move?
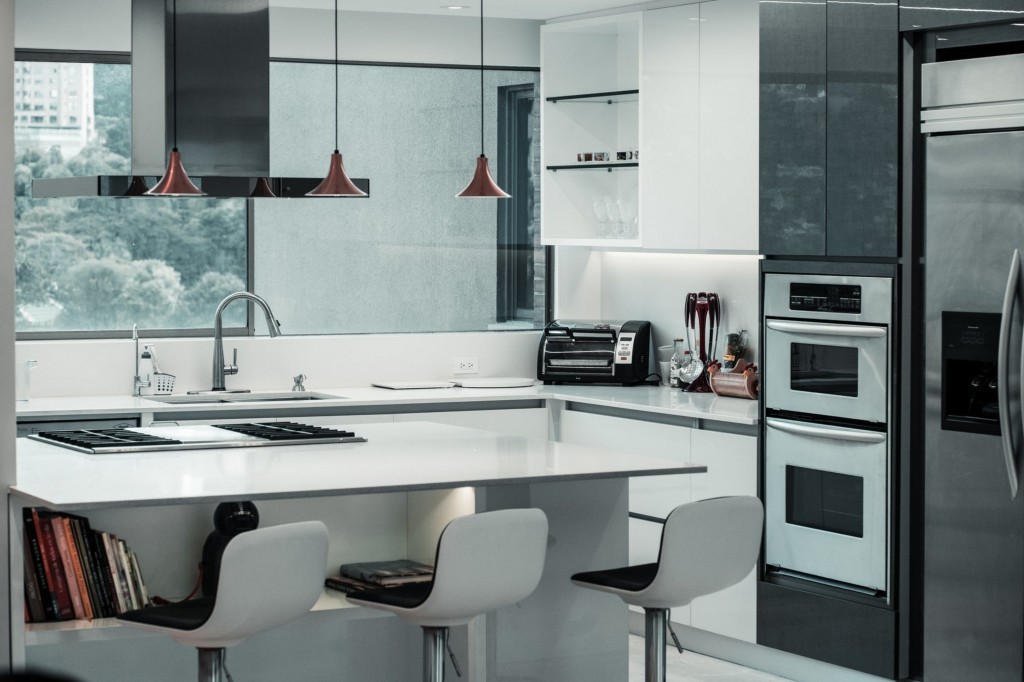
It’s all fun and games until it’s time to pack the kitchen. This section of the house gets a bad rep for being the most challenging room to pack. With several cabinets, shelves, and drawers containing dozens of utensils, plastic containers, food products, and ceramics, you can’t really blame yourself for feeling overwhelmed.
To help you with this, here are eight useful hacks that will make packing your kitchen less of a hassle.
Hack #1: Get Organized
Yes, you have a massive job to do. Yes, it’s not easy. And yes, it will take time. That’s the reality. Overthinking and building up stress won’t get you anywhere. So it’s time to ignite that self-starter within you and get to work.
Ready? Good.
Begin by organizing your stuff. Nothing beats down morale faster than a room full of unnecessary objects. Take time to go over your kitchenware and decide what stuff you need and which appliances are your favorites. The rest? You have to let them go.
As a rule of thumb, you probably won’t need anything you haven’t used in your home during the last five months. That animal design cookie cutter you only used once during your baby’s first birthday? It’s about time to say goodbye to that. Once you’ve sorted out the unwanted stuff, you can either sell it or give it away to people you know.
Hack #2: Prepare Your Essentials
You don’t want to pack everything and leave yourself with nothing to use during moving day. So separate a few utensils, plates, some pots, etc., to use for two days before the move. Subsequently, pack these essentials in a separate box and that you can get to easily when you arrive at your new home. This separate stash of essentials will help you survive the first few days of your transition.
Hack #3: Dishes and Glasses
Dinner plates are notorious for breaking during transit. That’s why you’ll have to be careful so you won’t have to spend extra purchasing new ones.
Here’s how you can pack them safely:
- Use a heavy-duty box for its thicker walls.
- Place a newspaper or bubble wrap at the bottom of the box.
- Instead of wrapping each dish with packing paper, insert a disposable foam plate between each one.
- Stack the dinner plates horizontally to distribute the impact of vibrations.
- Cover the plates with another layer of bubble wrap.
- Finally, don’t forget to label the box as ‘FRAGILE.’
As for glasses, you can cloak them with bubble wrap or packing paper then place them side by side within a box. Just be sure to position the large and heavy glasses at the bottom to support the lighter ones.
Hack #4: Silverware
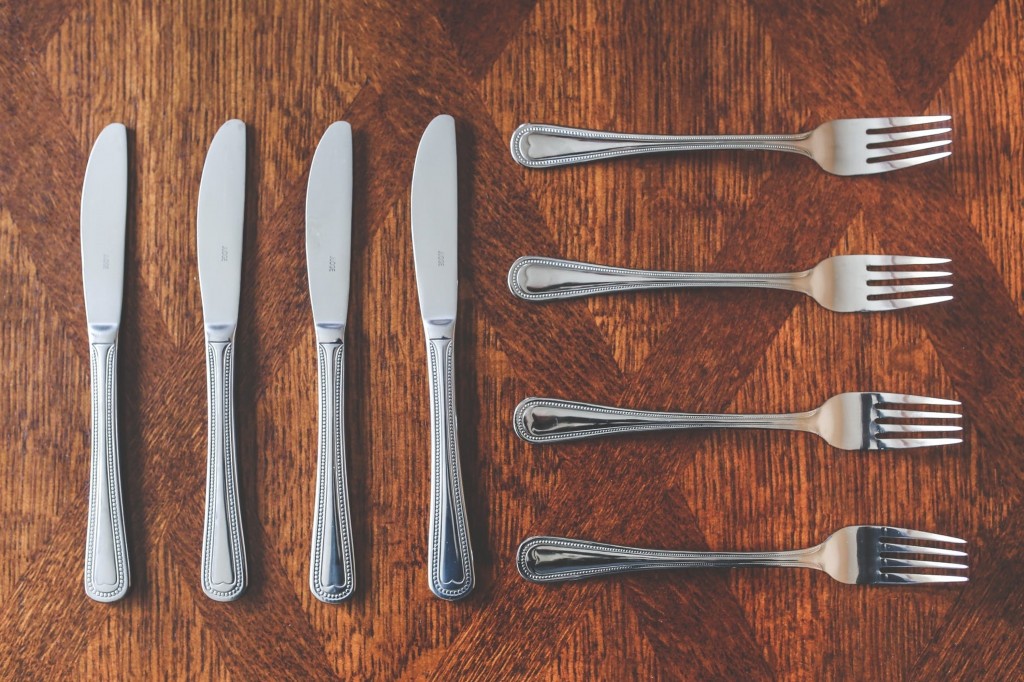
Silverware includes everything from spoons, forks, knives, and any other shiny utensils. Packing these things should be easy, but it’s still best to separate them from other kitchenware because they can cause scratches and marks.
Group your silverware according to type. Wrap them together with a rubber band, then place them inside a shoebox. Remember to put knives in a different shoebox and label it as ‘SHARP.’
Hack #5: Pots and Pans
Pots and pans can be challenging to pack because of their irregular shapes. But fret not! When there’s a will, there’s a way.
- Prepare a medium-sized moving box.
- Put some foam padding at the bottom.
- Like stacking Russian nesting dolls, place the smaller pots and pans on top of the larger ones.
- Insert some packing paper between each pan to prevent dings and scratches
- Store the lids in a separate box
- If there’s still some room left in the box, you can try adding food items like rice and flour.
Hack #6: Pantry Items
Now is also a good time to start paring down on your food. Halt trips to the grocery store and get creative using up the food in your fridge and cabinets. Consider donating non-perishables to your local food bank, giving extras to neighbors, or contacting a program like Move for Hunger.
Hack #7: Kitchen Appliances
When moving, there’s no way you’re leaving that precious microwave, pressure cooker, or coffee maker behind. Not to mention you still have large appliances, like the fridge and the stove to worry about.
Here are some tips on getting them ready:
- Refrigerator: Clean it, defrost, then refer to the instructional manual on how to disconnect.
- Gas stove: Make sure to turn off the gas before you disconnect and dismantle the racks.
- Other small appliances. Ensure that you wrap them with bubble wrap and pack them in separate boxes with proper labels.
Hack #8: Have Fun!
You might be chuckling right now, thinking how absurd this tip is. But seriously, it works! Come on. There’s no harm in trying. Create a mindset of wanting to do it instead of just getting it over with. You can even add some twists to brighten up the entire experience.
On a final note, prepping your kitchen may seem mundane and complicated. Still, you’ll eventually have to do it. Looking on the bright side, once you’ve tackled the hardest room, the rest of the house becomes a lot easier to pack.
Good luck!


LEAVE A REPLY